This was a 1250 battle between my Orks and Todd's White Scars. The mission was the Scouring with a Spearhead deployment
 |
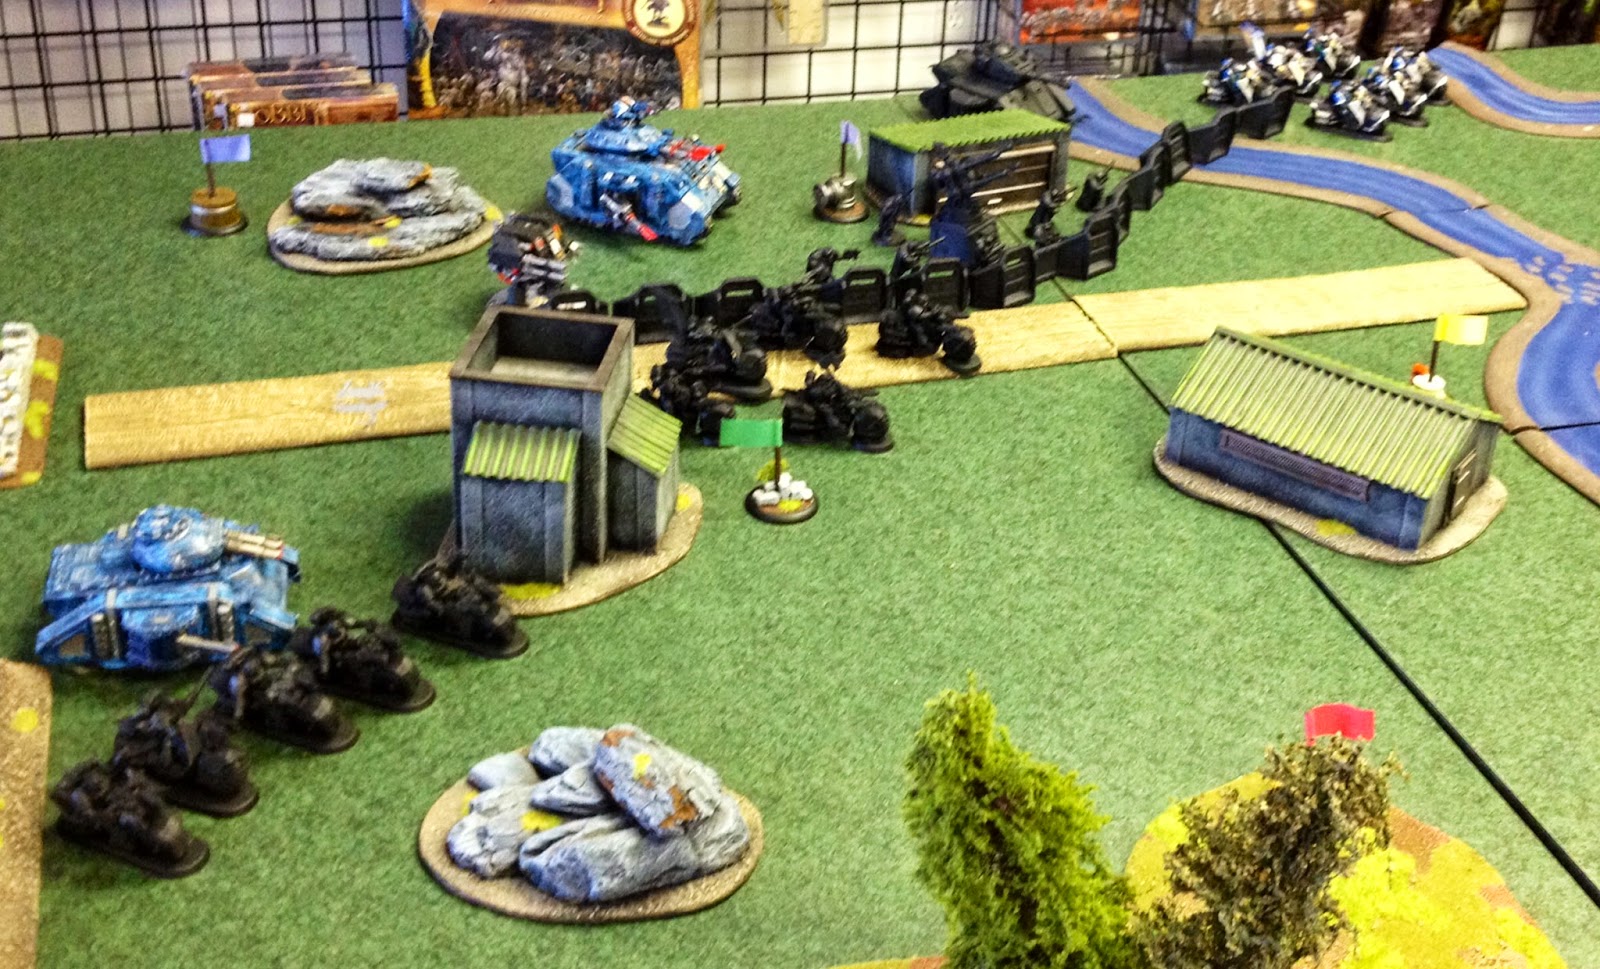
| The Board |
Orks
HQ:
Big Mek with Kustom Force Field, Bosspole, Cybork Body, and Power Klaw - 125
Troops:
13 Shoota Boyz with Big Shoota, and Nob with Power Klaw - 118
30 Shoota Boyz with 3x Big Shoota, and Nob with Power Klaw and Bosspole - 235
Lord of War:
Stompa - 770
Total: 1248
This was a fun list to make, as Todd had challenged my Orks, and told me I could bring my Stompa if I wanted. Of course, I couldn't just NOT bring a Stompa. These are Orks we're talking about. So my army ended up basically being a Stompa and a few Boyz. I decided to beef up the Squad out side of the Stompa, so that I could bubble wrap it in Boyz to keep any melta guns out of range. It also served to keep the Boyz in range of the Big Mek's Forcefield. I didn't have much of a plan other than to unleash the Stompa and try and blow up all his troops. If I get lucky, maybe one of my troops will survive and I''ll be able to claim an objective.
 |
| Da Orks! |
White Scars
HQ:
Chapter Master on Bike with Lightning Claw, and Power Fist - 190
Elites:
Dreadnought with Twin-Linked Lascannon - 125
Troops:
5 Bikes with 2x Grav Guns, Sergent with Melta Bombs - 140
5 Bikes with 2x Grav Guns, Sergent with Melta Bombs - 140
5 Bikes with 2x Meltaguns, Sergent with Melta Bombs - 130
7 Scouts with Sniper Rifles - 82
Heavy Support:
Predator with Autocannon and Lascannon Sponsons -140
Predator with Autocannon and Lascannon Sponsons -140
Predator with Autocannon and Lascannon Sponsons -140
Fortification:
Aegis Defence Line with Quadgun - 100
Total: 1252
So first off, the points for this list may be a little off, as Todd's tablet has been out of commission, and so he made this list from memory. With that said, there was a decent amount of anti-tank, in this list, and it was also pretty maneuverable, so it was going to be tough for my Boyz to engage them properly. My only real hope was that the Stompa could prove to difficult to hurt and just rampage around the battle field.
 |
| Dem 'Umies |
Todd won both the roll for choice of table side, and the roll for first turn and decided to go first. We places objectives fairly spread out, but forgot to put randomize the value of them, and so we a agreed to just draw them randomly at the end. Todd deployed fairly aggressively with his bikes deployed up as far as he could, and his scouts and tanks mostly behind the defence line, along with the dreadnought.
 |
| Todd's Deployment |
 |
| My Deployment |
Gunning their engines, the Bikes begin to advance. The squad in the center with the meltaguns drives up to try and get out of line of sight behind a small building. The other two bike squads advance down their respective flanks towards the Orks. Meanwhile the Dreadnought lumbers forward to try and get some cover from the defence line and get a better arc of sight. Two of the Predator tanks lumber forward as well to try and get a clear shot.
The Chapter Master begins the engagement by painting the massive Stompa for an Orbital Bombardment. Unfourtunately, the Mek's Orky technologies interfere with the signal, and the shot lands on the front few Boyz instead, only killing two, thanks to the Force Field. The Bikes on the left flank fire at the Boyz at extreme range and drop a single Greenskin. All three Predators and the Dreadnought unleash the fury of their weapons on the Stompa, but between it's thick plates of armour and the Mek's Force Field, no harm comes to the effigy.
Eager to get to the Marines, the Boyz start to advance through the river at a surprisingly fast pace. The Stompa lumbers up behind them, ready to unleash its guns on the 'umies. The Boyz decide to return fire at long range at the Bikes on the left, but their shooting is wild and no Space Marines are hurt. The Stompa unleashes its Deffcannon on the Melta Bikes and kills a couple. The Supa-Gatler chews up a pair of the Bikes from the Chapter Master's squad, reducing them to little more than bloody chunks.
 |
| End of Turn 1 |
Turn 2
With relatively few casualties on both sides, the Space Marines know that they must make a move soon. The Bikes on the left advance to get into range of the Boyz, while the Chapter Master's Squad move behind the nearby building, hoping to goad the Stompa into attacking them. Everything else holds position. The Bikes begin to unleash their bolters on the Boyz, and kill a couple more, and the Scouts down another with their Sniper Rifles. All of the Predators and the Dreadnought manage to get a couple of hull points off the Stompa this time, blasting off weakened armour plates under a fusilade of Las and Autocannon fire.
Tiring of this long range fight, the Boyz split to the left to try and get into range to kill some of the Bikes. The Stompa goes off on its own towards the Chapter Master and his Squad, ready to stomp them into a pulp. The Boyz fire all of their weapons at the Bikes and manage to down one. The Stompa unleashes its entire payload into the Chapter Master and his squad, and when the dust settles, nothing but a crater with the charred and bullet ridden bodies of the Chapter Master and his retinue remains.
 |
| End of Turn 2 |
With the Death of their beloved Chapter Master, the Melta Bikes cruise forward, eager to take down the monstrous Stompa. The Left Bike Squad starts to retreat from the Boyz, while the Left Predator moves to try and get a better view of the Stompa. The left Bike squad downs another Boy or two with their Bolters. Firing their Meltaguns proves to do no damage to the Stompa, one Biker missing all together, and the other shot being blocked by the Force Field. The Combined fire from the Predators and the Dreadnought and Quad gun does much better and downs the Stompa's hull points yet further. Desperate to destroy the lumbering war machine, the Bikes charged the Stompa, clamping a Meltabomb to it, and blowing off a few more plates, only to be cut down by the massive chainblade an instant later. The Stompa consolidated towards the terrified Scouts.
The Stompa stomps towards the scouts, ready to do some damage. The Boyz move into the forest to claim the objective, and to take some more shots at the Bikes. Firing their shootas once again proves to be ineffective against the rock hard Bikes. The Stompa has some better luck, toasting a bunch of scouts. The Deffcannon hits a Predator, but fails to get through its armour. The Supa-Gatler immobilizes and takes a hull point off the Dreadnought. Eager for more bloodshed, the Stompa crashes into the scouts and easily cleaves through them.
 | |
| End of Turn 3 |
Turn 4
With the line falling fast to the Stompa, the remaining Marines divert all of their attention to bringing it down. The Bikes pull back to fire their Grav guns at it. Though it takes much of their remaining firepower, the Dreadnought manages to finally blow up the Behemoth, but miraculously, the Big Mek, his Nob, the Big Shoota, and some of the Boyz manage to survive the catastrophic explosion.
Shaken, but not beaten, the Big Mek and his squad move behind the central building to take the objective, with just the Big Shoota remaining partially in view of the bikes to try and take one down. The other Boyz also move to fire on the bikes. Unfortunately, they're still Orks, and their shooting is entirely ineffective.
 |
| End of Turn 4 |
Turn 5
With the battle nearing its end, the Bikes retreat back to claim the objective in their back corner. The Predators move about to get some shots into the Boyz. Luck is with the Orks, however, and only a couple of Boyz from the left squad are killed.
The Big Shootas all move to take some more pot shots at the bikes, but once again fail to harm them.
We roll to see if it goes on...
 |
| End of Turn 5 |
Turn 6
The Marines move around a bit more and kill the Big Shoota from the Big Meks Squad, as well as a few Boyz from the other Squad. Though the Big Mek is able to maintain order, the Nob is not and the larger squad starts to run.
The Nob, shouting orders at his squad finally manages to get them back into the fight, and they manage to get back to the objective. One boy with a Big Shoota manages to snap fire at a biker, and even manages to kill him. The Bikes hold.
We roll to see if it goes on...
 | ||
| End of Turn 6 |
Total Points:
The game ends and we draw for our objectives. I hold two, and he holds one. I draw a 1 point and a 3 point and Todd draws a 3 Point.
Orks: 6 (First Blood, Slay the Warlord, 4 for Objectives)
Space Marines: 7 (3 for Objectives and 4 for killing the Stompa)
Post Game Thoughts
That battle ended up being much closer than I thought it was going to be. I was pretty much resigned to a defeat, and while I wasn't wrong, it was more circumstance than anything that was the cause. Had I drawn literally any other point than the 1 for one of my objectives then I would have at least had a tie, but Gork and Mork are fickle indeed.
So, what would I have done differently? Honestly, I think I would have played the same game as I did. Obviously, running forward at the Chapter Master with the Melta Bikes right there wasn't a very tactically sound move, but it was definitely the most Orky thing to do, and so I had to do it. The only thing that I maybe should have changed was shooting at a Predator with the Deffcannon turn 1 instead of the Bikes. If I had blown one up it would have drastically reduced incoming fire at me, and maybe the Stompa would have survived the game.
I think there were a few things Todd could have done differently that would have helped him out. Instead of moving to kill the Stompa with his last unit of bikes on turn 4, I would have pressed the attack on the much-weakened Shoota Boyz. The rapid-firing bolters could really have done some damage, and while he may have lost a bike or two in the assault phase, he likely would have cleaned up the 15 or so remaining Boyz, and if not, he could have still gotten away with Hit and Run.This would have eliminated one of my Troops choices, given him an objective, and he then would have been in a position to flank my remaining squad if the Stompa blew, (which it did). It would have been a lot riskier though, if he had botched his rolls or the Boyz managed to beat him up good.
Overall it was a really fun game, and while I'm still not entirely convinced Stompas are really worth their points, I still will use mine every chance I get. They're just too fun not to use.
No comments:
Post a Comment