This was a 1550 game with my Orks against Todd and h is Space Marines. The mission was the Scouring using the Spearhead deployment type.
 |
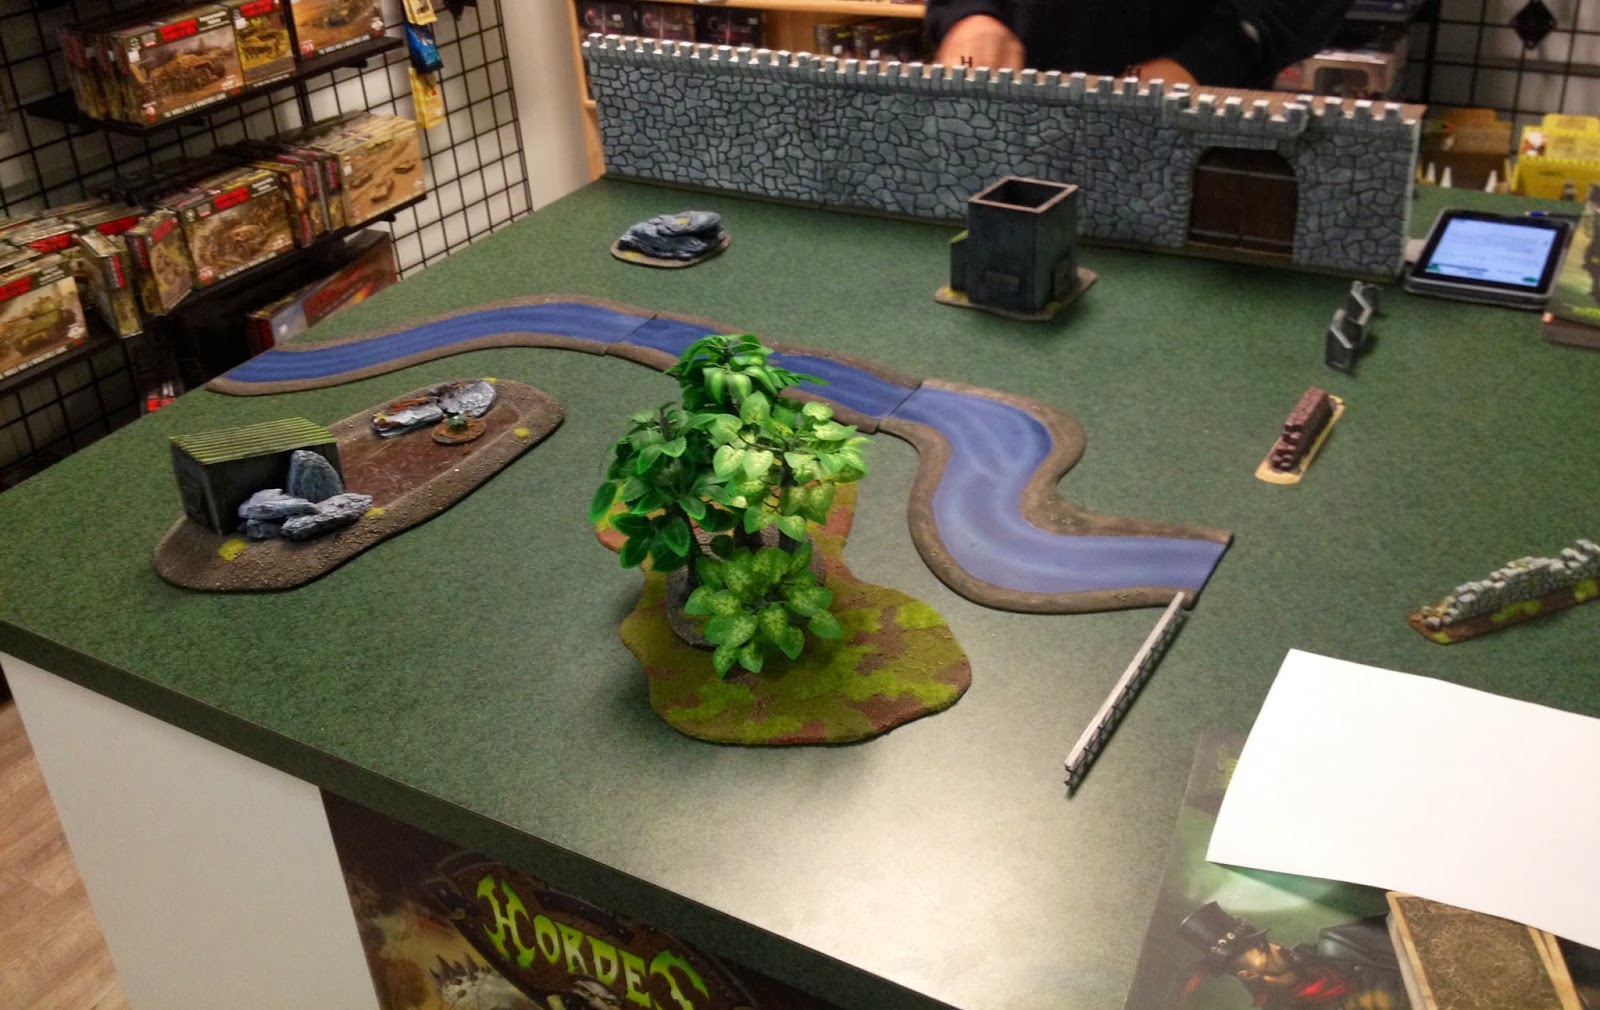
| The Board |
Orks
HQ:
- Warboss in Mega Armour with Bosspole, Attack Squig, Ammo Runt, Kombi-Skorcha and Cybork
Body (Warlord) - 138
- Big Mek with Kustom Force Field, Power Klaw, and Bosspole - 125
Elites:
- 10 Lootas - 150
Troops:
- 3 Meganobz with Kombi-Skorchas, in a Trukk with Reinforced Ram and Big Shoota - 175
- 12 Shoota Boyz with Big Shoota and Nob with Power Klaw and Bosspole in a Trukk with
Reinforced Ram and Big Shoota -157
- 12 Shoota Boyz with Big Shoota and Nob with Power Klaw and Bosspole in a Trukk with
Reinforced Ram and Big Shoota -157
- 20 Shoota Boyz with 2x Big Shootas and Nob with Power Klaw and Bosspole - 170
Fast Attack:
- Dakkajet with Fighta Ace and additional Supa Shoota - 130
- 7 Warbikers with Nob with Power Klaw and Bosspole - 215
Heavy Support:
- Battlewagon with Deffrolla and 4x Big Shootas - 130
Total: 1547
I decided to give Trukk Boys another go this game, as I hadn't used them for awhile and I wanted to try and make them work. Unfortunately right now I'm having a hard time getting my Boyz to do much of anything unless they hang out in a Battlewagon all game. Either they're too slow on foot, or they aren't able to do anything with their numbers.
White Scars/ Dark Angels
HQ:
- Chapter Master on Bike with Power Fist and Lightning Claw (Warlord) - 190
- Belial with Thunder Hammer and Storm Shield (Allies) - 190
Troops:
- 5 Bikes with 2x Grav-Guns - 135
- 5 Bikes with 2x Grav-Guns - 135
- 5 Deathwing Terminators with 1 Assault Cannon and Sergent with Thunder Hammer and Storm
Shield (Allies) - 196
- 5 Scouts with Sniper Rifles - 66
Fast Attack:
- Ravenwing Darkshroud (Allies) - 80
Heavy Support:
- Ironclad Dreadnought with Powerfist/Heavy Flamer and Seismic Hammer/Meltagun in Drop Pod
- 180
- Predator with Autocannon and Lascannon Sponsons - 115
- Predator with Autocannon and Lascannon Sponsons - 115
Total: 1551
This list was going to be bad news. Of course the one time Todd brings Autocannons on his Predators is when I have Orks, with Trukks no less. The Chapter Master I was expecting, though it doesn't make that Orbital Bombardment any less threatening. It's also going to be tough facing two deepstriking units that are going to come in turn 1 and be right in my face immediately. This list was definately a good counter to mine.
The Game
I won the roll to choose sides and decided to take the side with the big Line of Sight blocking hill, hoping to hide out behind it for a turn so that I could boost my Boyz right up at him immediately. I also won the roll for first turn and decided to make him deploy first.
 |
| Todd's Deployment |
 |
| My Deployment |
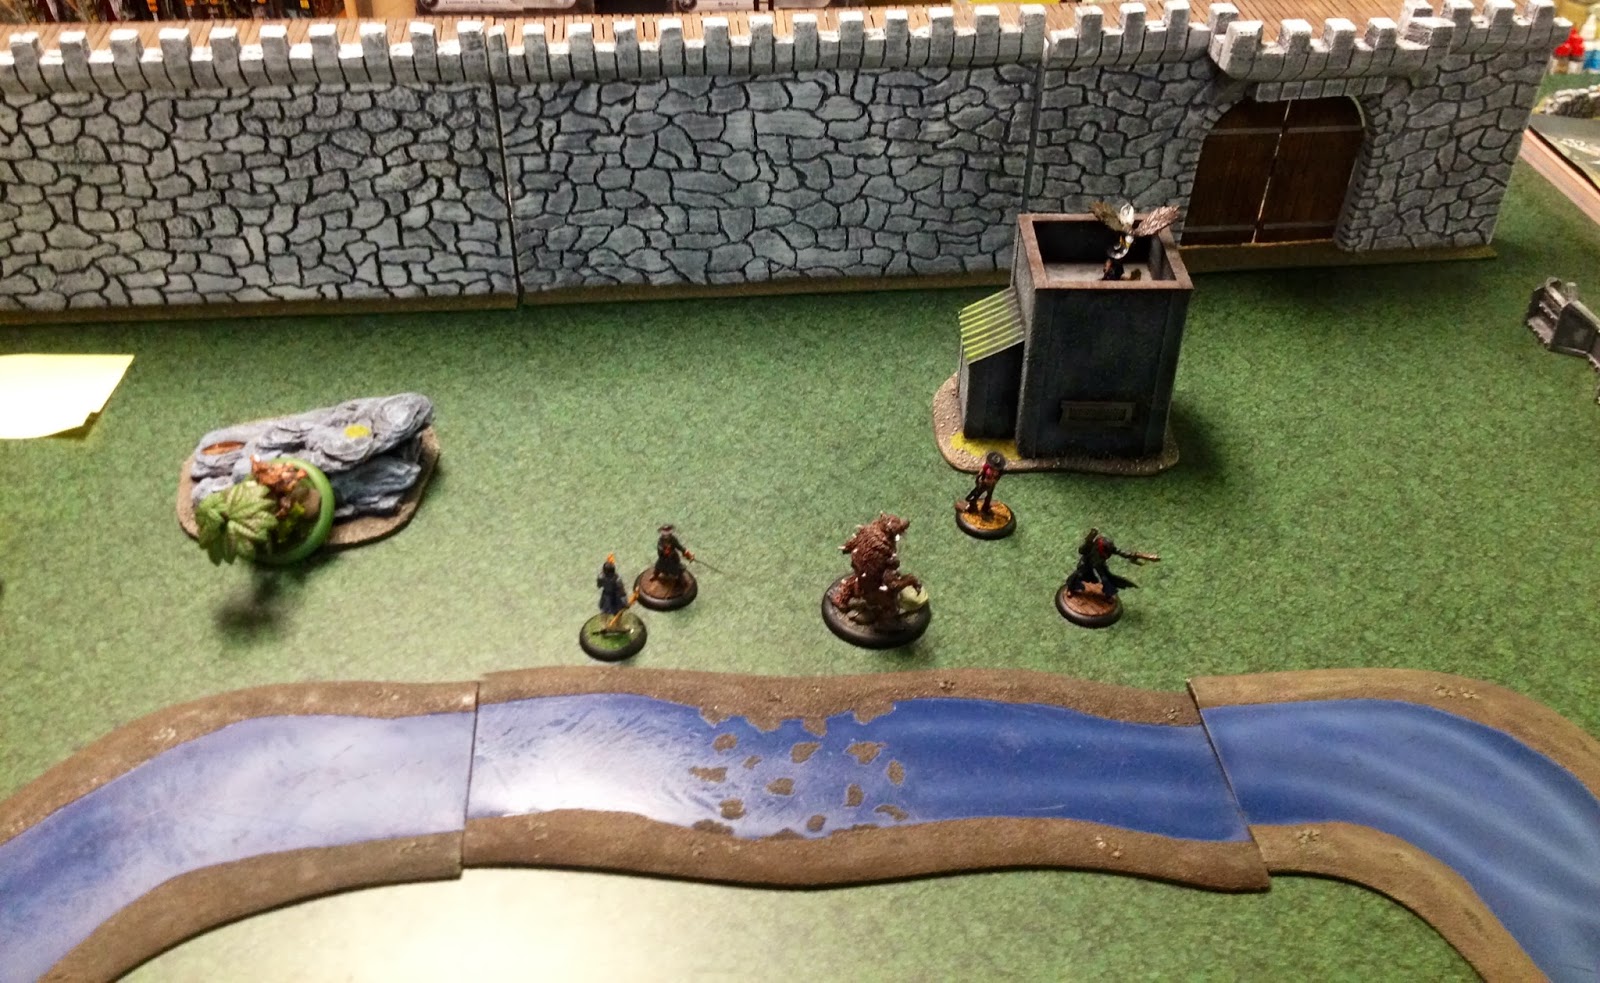
Turn 1
Todd dropped his Deathwing down right beside the river closest to his side of the board, hoping to get some shots into my Trukk's side armour. The Ironclad came down on the otherside and landed in the river. Even worse, the Chapter Master was able to get line of sight on my Trukk, thanks to the bars on top of it, and dropped his Bobardment right on my head, hitting both Trukks and the Battlewagon exploding both the Boyz's Trukk (which thankfully Ramshackled into a wreck) and the Battleawagon killing 5 of the Boyz.
The Deathwing opened up on the newly disembarked Boyz and killed a couple, and then the Ironclad let loose with its Heavy Flamer, which killed a bunch more Boyz from the Battlewagon squad, who passed their Leadership check. He then fired his Meltagun into the other Trukk and failed to do anything to it. While the Boyz were getting pummeled behind the rock, the Lootas were getting gunned down by the Scouts, Darkshroud and Predator who all together managed to kill of them, but they held.
With almost a quarter of my force gone right out the gate I knew that things were going to be rough this game. I started by moving the Trukk Boyz towards the Deathwing, as well as driving both remaining Trukks over to face them as well. The Battlewagon Boyz moved over to try and beat up the Ironclad. The Lootas began by firing with Deffguns into the rear of the Ironclad but I rolled a 1 on their shots, and then failed to hit. Such as it is with Ork shooting I guess. The Meganobs, Trukk Boyz, Boyz formerly known as Trukk Boyz, and both Trukks fired into the Deathwing and killed one whole Terminator.
With that disappointing business done, I decided to issue some charges, first with my Boyz on the Terminators, who made it in fine, and then with the Boyz on the dreadnought who lost a couple to the Heavy Flamer and ran away. Typical. Fourtunately, the Boyz that actually made it to assault didn't get beaten up too bad. The Nob was killed in a challenge, but the Boyz managed to kill another Terminator, and though they lost combat, they stuck it out. What champs!
 |
| End of turn 1 |
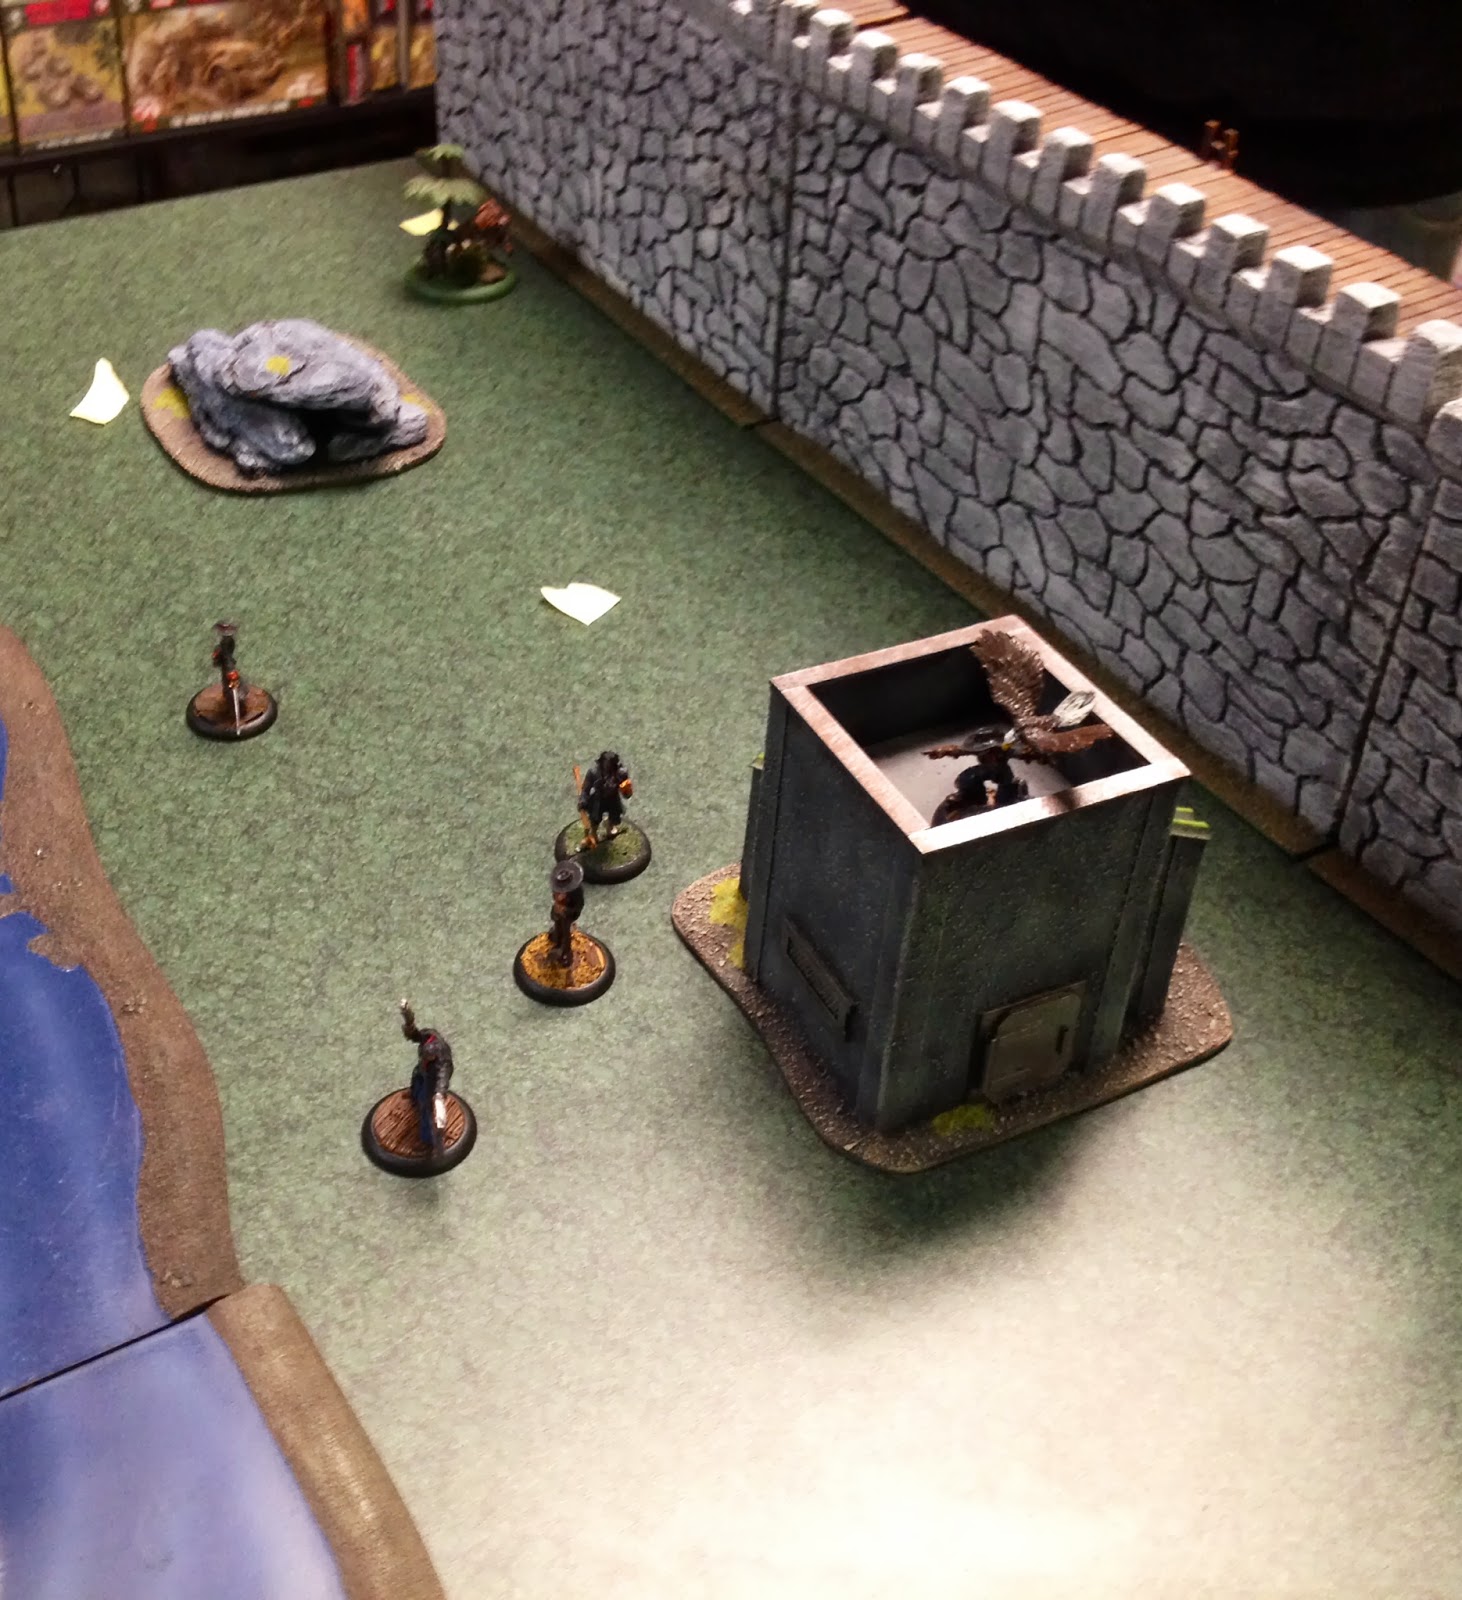
With the beginning of turn two and me already in a bad way, the Space Marines pressed their advantage. The Predator by the hill moved over to get a better shot at the Lootas, and both Bike Squads moved forwards. Shooting began with the last of my Lootas being mopped up by the Scouts and Predator. The Ironclad moved towards the Meganobz's Trukk and Exploded it with the Meltagun, but it again Ramshakled into a wreck instead The remaining Predator and Darkshroud manage to kill a Meganob and wound another. The other Bike Squad managed to glance the other Trukk. The combat with the Deathwing went just as one would expect, with the Orks being cut down, almost to an Ork, but one managed to escape to safety.
Seeing the need to Reinforce their friends, the Bikes came on this turn. The Battlewagon Boyz managed to rally as well, and moved back to try and have another go at the Ironclad. The last Trukk moved off towards the Bikes, and the Meganobz went to go beat up Belial and his squad for the Moral victory. The Bikes turbo-boosted up the flank. Shooting from the Big Shoota into the Ironclad does nothing, and the other unit of Boyz does nothing as well. The Meganobs also do nothing. The Meganobz then declare a Charge on the Terminators, and the Boyz manage to make combat with the Ironclad this time.
Combat goes a bit better for me. Though the Ironclad manages to almost destroy the Boyz, the Nob gets a good whack in and manages to blow up the ancient Dreadnought. The Warboss challenges Belial, and in a big brawl of Power Fists, Klaws and Thunderhammers, all of the Meganobz, the Warboss, Big Mek, all the Terminators and Belial are all killed.
 |
| End of Turn 2 |
Todd's first Bike unit moves to the Flank to try and kill the Warbikes while the Darkshroud turns to fire on the Dakkajet. The other Bike Squad moves to try and stay just in range of the last Trukk. Shooting begins with the Darkshroud managing to take off a Supa Shoota. The Bikes and both Predators fire into the Warbikes and kill all but the Nob, who stands his ground. The other Bike Squad Immobilizes the remaining Trukk.
My Dakkajet moves onto the board and gets a locked velocity from the Quad Gun, and the Nob moves to try and Assault a Predator. The Boyz leap from their immobilized ride. The Nob and his last remaining Boy go to beat up the Drop Pod.The Boyz all fire at the Bikes but fail to do any damage. The Dakkajet fires into the Scouts and kills 3, and the remaining 2 flee off the Board. The Boyz then attempt to assault but don't make it. The Warbiker assaults the Predator and blows it up, and the Nob and his Boy assault the Drop Pod, which explodes and kills the Boy.
 |
| End of Turn 3 |
Todd moves his Bikes up to shoot down my remaining Boyz, and moves his other bikes to claim an objective The Chapter Master breaks off and goes to the Quad Gun to try and bring down the Dakkajet. The remaining predator and Darkshroud manage to kill my last Warbiker, and the Bikes kill off a few Boyz, who run for it. The Chapter Master hits the Dakkajet but only manages to blow off a Supa Shoota.
I move my last Boyz over to hide behind a hill, and the Dakkajet moves up. The Jet fires ineffectually into the Darkshroud. With nothing really left, I decide to concede the game.
 |
| End of the Game |
Well that game could have gone better. Todd managing to get line of sight on my Trukk pretty much spelt doom for me right from the get-go. With all of my mobility effectively neutralized in the first turn, as well as most of my Boyz already dead or on the run, I knew that there wasn't much hope for a victory, unless the dice took a serious turn. They definitely didn't. I really should have deployed a little more spaced out, and maybe should have just taken first turn and tried to boost up right away. I think I made the right choice putting the Bikes in reserve, as if I had had an army left to support them, they could have been a real thorn in Todd's side.
I definitely felt like the dice weren't with me this game. I failed a lot of cover saves, and even lost a Meganob and a half to small arms fire. My shooting also failed spectacularly for most of the game, with the Dakkajet being the only thing that killed ANYTHING with shooting, despite my list being made up of mostly shooty units. I don't think that I will be going back to Trukks any time soon. They're just too fragile, and even if all of your Boys make it to the enemy intact, 12 Boyz is hardly a frightening thing to face. Still not sure what to do with them.
Anyways, thanks for reading. As always, make sure to leave a comment.


.jpeg)